Difference between revisions of "Configuring postback for Actionpay"
(Created page with "To set up a postback with Actionpay, follow these steps: 1. Connect to the offer. frame 2. Configure the postback within each offer: fi...") |
(No difference)
|
Revision as of 10:55, 18 July 2023
To set up a postback with Actionpay, follow these steps:
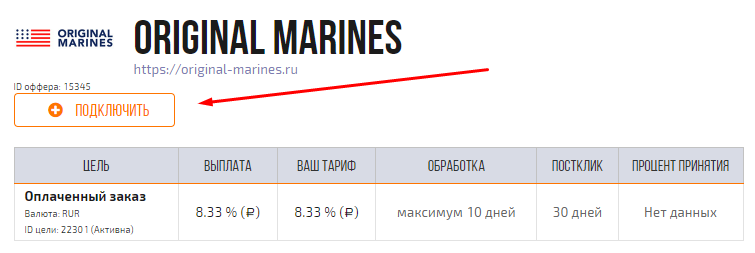
1. Connect to the offer.
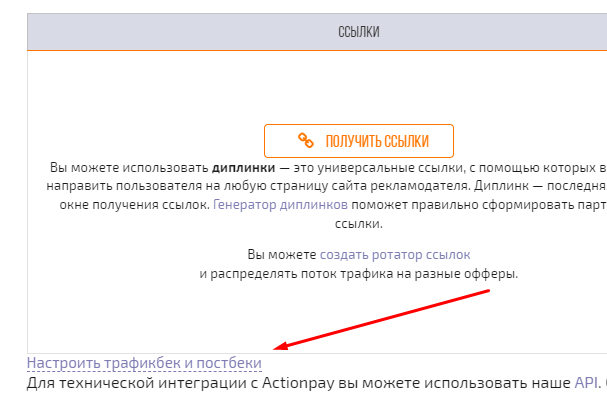
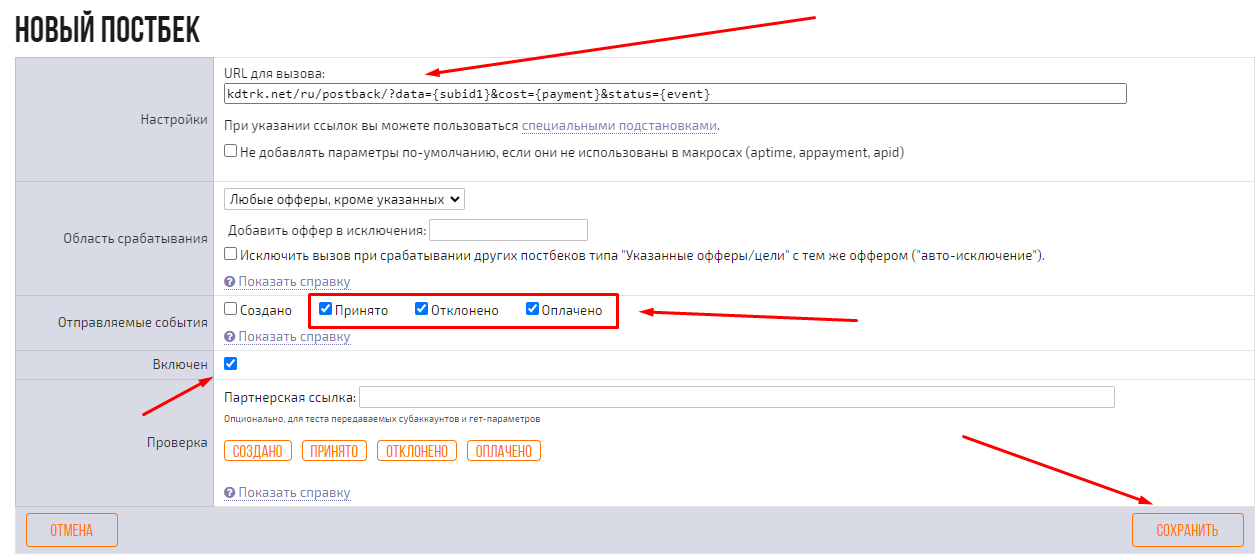
2. Configure the postback within each offer:
In the "Callback URL" field, enter the following link: https://kdtrk.net/ru/postback/?data={subid1}&cost={payment}&status={event}
In the "Sent Events" field, select all events except the first one (to avoid receiving two hold statuses). Check the "Enabled" box and click the "Save" button.
Finally, click the "Save" button.
3. Copy the affiliate link.
4. Replace the "subaccount" parameter with "?subit1={click_id}". Example of the complete link: http://apretailer.com.br/click/xxxxxxxxxxxxxxxxxxxxx/xxxxxx/xxxxxx/?subit1={click_id}
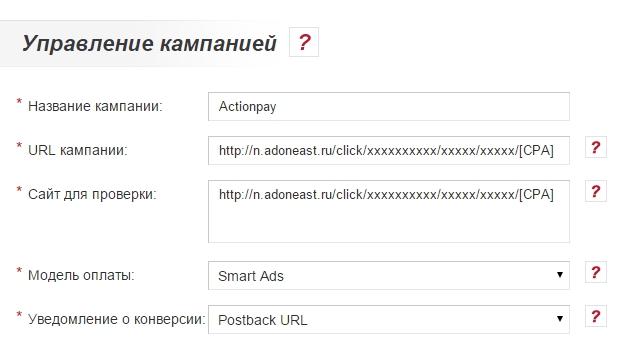
5. Paste the obtained CPA link with the parameter into the URL field in the advertising campaign within the Kadam dashboard.
6. In the campaign parameters, in the "Acceptance Template" field, select the template for the current affiliate program.


